How to Make a Crispy Split-Griddled Hot Dog at Home
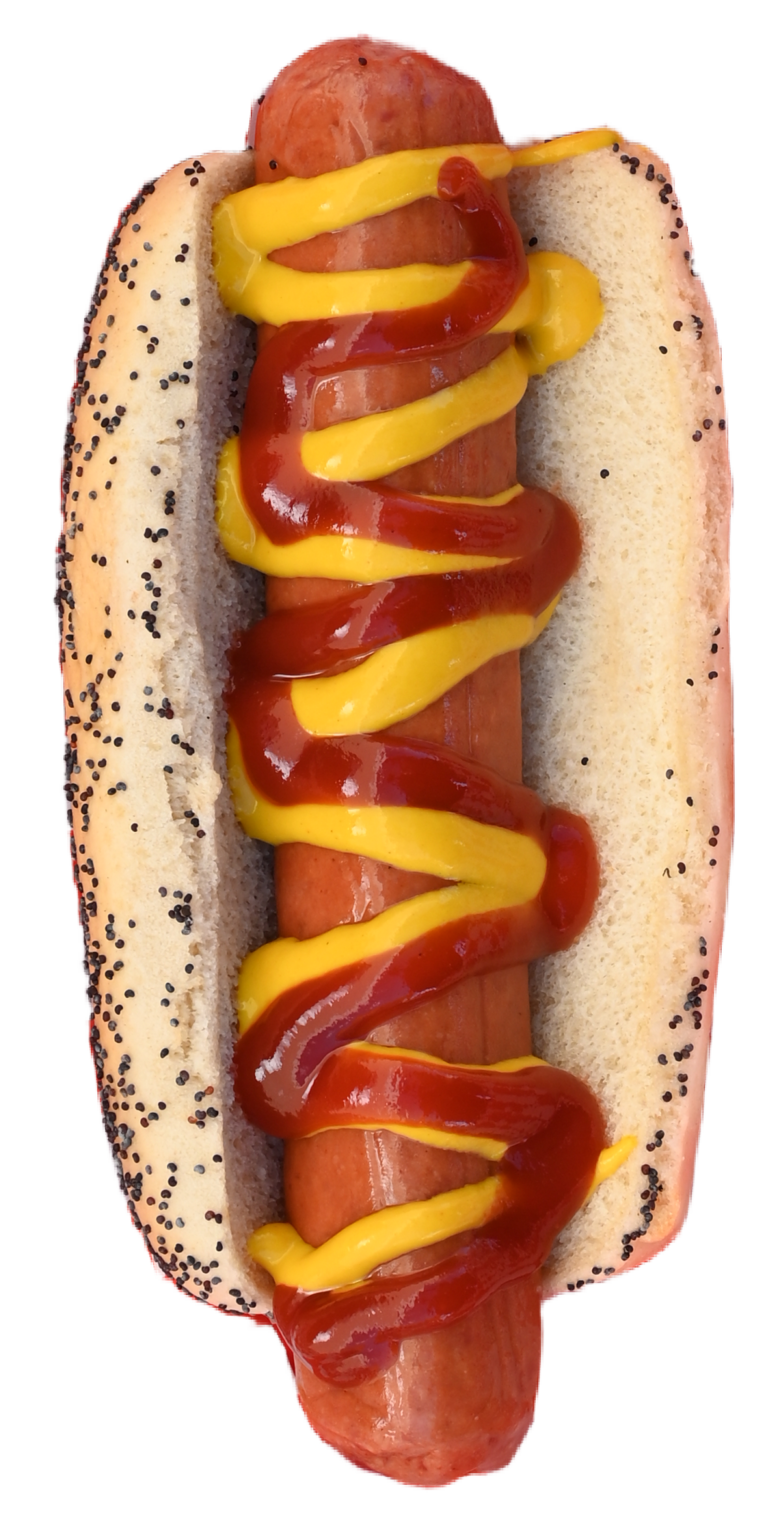

A split-griddled hot dog sits in a very specific sweet spot. It is still unmistakably a hot dog, familiar, casual, fast, but it has the texture of something more deliberate. The casing blisters. The cut sides brown and crisp. The center stays juicy. Done right, it delivers more contrast than a boiled or steamed dog ever can, and it does it with tools most home cooks already own.
This style rewards attention to a few details that do not look dramatic on paper. The depth of the cut matters. Pan temperature matters. Bun treatment matters more than people expect. If you have ever made hot dogs at home and wondered why they felt flat compared with the better diner version or the one from a no-frills lunch counter, the answer is usually texture. Splitting and griddling fixes that.
The good news is that the technique is simple once you understand what you are trying to accomplish. You are not just heating the sausage through. You are creating a larger surface area so more of the meat can brown, while keeping the dog intact enough to stay plump and easy to handle. A good split-griddled dog should have crisp ridges, rendered edges, and enough snap left in the casing to remind you it came from a proper frankfurter.
What makes a split-griddled hot dog different
A standard pan-heated or simmered hot dog warms through evenly, but the outside does not change much. It remains soft unless you finish it in a very hot skillet. A grilled dog gets smoky char, which can be excellent, but the browning is often patchy and depends heavily on the grill grates. A split-griddled hot dog gives you something more controlled. By cutting the dog lengthwise, you expose the interior to direct heat. That exposed face browns deeply and turns crisp at the edges, while the rounded back side still develops blistered spots from contact with the griddle.
The effect is not subtle. The hot dog opens slightly as it cooks, almost like a little canoe. That opening catches mustard, onions, relish, chili, or melted cheese better than a whole dog does. The increased surface browning also intensifies savoriness. It tastes meatier, even if you started with the same pack from the store.
This method also plays well with supermarket franks. You do not need a specialty butcher to get a strong result. Better ingredients still help, of course. An all-beef dog with a natural casing tends to deliver the best snap and the cleanest flavor, but a standard skinless frank can still crisp nicely if your heat is right.
Start with the right kind of hot dog
If you want the best version, buy full-size franks rather than very thin ones. Thin hot dogs heat so quickly that they can dry out before you build a crisp crust. Thick deli-style franks, kosher-style beef dogs, and classic ballpark-size hot dogs all work well. Natural casings are ideal because they blister attractively and add snap, but skinless dogs are more forgiving if you are just learning.
There is also a fat question here. Leaner poultry dogs can be made this way, but they do not brown or self-baste like beef or pork-beef blends. They tend to grip the pan sooner and can go from nicely browned to leathery in a hurry. If you are after the classic crispy split-griddled style, beef is the cleanest path.
Brand matters less than formulation. You want a frank with enough fat to stay juicy and enough structure to hold together when split. If a dog already feels mushy straight from the package, it will not improve on the griddle. A firm frank with a tight texture will.
The cut is the whole trick
Most people either cut too shallow or too deep. Too shallow, and the dog does not open enough to create a meaningful browned surface. Too deep, and it can curl hard, split apart, or leak too much fat before the inside is heated.
The ideal cut runs almost the full length of the hot dog, leaving about half an inch intact at each end. Depth should be around halfway to two-thirds through. Think of opening a seam rather than butterflying a chicken breast. You want the hot dog to hinge open under heat, not separate into two strips.
A straight cut is fine, but a very slight angle can increase surface area and help the dog lie flatter. What matters most is consistency. If one end is barely nicked and the other is nearly severed, the thinner end will scorch before the thicker end even contacts the pan properly.
One practical note from repeated batches: pat the dogs dry before you cut them. They often come out of the package a little wet. Moisture is the enemy of quick browning, and it can make the knife skid. Thirty seconds with a paper towel improves both safety and texture.
The best pan for the job
A flat griddle is the ideal tool, but a cast-iron skillet or heavy stainless steel pan works beautifully. Nonstick will do in a pinch, especially for lower-fat dogs, but it does not encourage the same aggressive browning, and I would not push it to the temperatures that make this method shine.
Cast iron gives a particularly good result because it stores heat. When the cut side of the dog hits the pan, the temperature does not collapse. That helps the surface sear rather than steam. Stainless steel is more responsive and easier to manage in smaller kitchens, but it asks for better heat control.
You do not need outdoor equipment. In fact, one of the virtues of the split-griddled hot dog is that it is an indoor technique. If the weather is bad or you want dinner in ten minutes, this is one of the fastest satisfying meals you can make.
Heat, fat, and timing
The pan should be moderately hot, not smoking like a steak pan. On most stoves, medium to medium-high is the zone. If you drop a tiny smear of fat in the pan and it shimmers immediately, you are close. If it burns at once, back off.
Many hot dogs carry enough fat to cook without added oil, especially if they are beef franks. Still, a very thin film of neutral oil or a small swipe of butter helps with even contact, especially in stainless steel. Butter tastes great but browns quickly. If you use it, keep the heat slightly lower or combine it with a neutral oil.
Timing https://damienezja872.novacrestiq.com/posts/hot-dog-recipes-for-easy-outdoor-meals depends on the thickness of the dog and the temperature of your pan, but most full-size franks will take somewhere between four and seven minutes total. The cut side usually goes down first and stays there long enough to establish color. Then you rotate to the rounded side to blister the casing and heat the center fully.
A good target is a deep golden brown with some darker edges, not a uniform pale beige and not blackened bitterness. Crispness develops in stages. The first minute dries the surface. The next couple of minutes build browning. The final stretch renders enough fat to fry the edges. Pull them too early and you miss the payoff.
A reliable home method
Use this as your baseline, then adjust for your stove and your preferred brand of hot dog.
- Pat the hot dogs dry and split each one lengthwise about halfway to two-thirds through, leaving the ends attached.
- Heat a cast-iron skillet or griddle over medium to medium-high heat and add a light film of oil if needed.
- Place the hot dogs cut side down and press lightly for the first 20 to 30 seconds so the surface makes full contact.
- Cook until the cut face is deeply browned and crisp at the edges, then roll onto the rounded side to blister and finish heating through.
- Toast the buns in the same pan, load the dogs while they are hot, and serve immediately.
That first light press matters more than it seems. You are not smashing the hot dog flat. You are simply encouraging contact before the proteins tighten and the dog starts to arch. If you skip it, the center of the cut side can lift away from the pan and brown unevenly.
Bun treatment separates a decent dog from a great one
A hot dog bun should not be an afterthought. You have just spent several minutes building crispness into the sausage. If you drop it into a cold, flimsy bun straight from the bag, much of that textural work gets muted instantly.
Toast the bun. It can be a quick pan toast in a little butter, a dry toast on the cooler side of a griddle, or even a brief steam-toast hybrid if you like a softer interior with a slightly crisp edge. My preference for a split-griddled hot dog is a butter-toasted bun with light color rather than deep browning. You want enough structure to hold the dog and toppings, but not so much crunch that the bun fights the sausage.
Top-split buns are especially good here because the opened dog sits upright and shows off the crisp face. Side-split supermarket buns are still perfectly fine. Just be careful not to over-toast the hinge, or it may crack when you open it.
There is also a timing issue. Toast buns after or during the final minute of the dogs, not long before. Warm bread goes stale in feel surprisingly fast. A bun that was perfect two minutes ago can turn dry by the time you build the hot dog.
Condiments that work with a crispy dog
The beauty of this style is contrast. The dog is crisp and savory, so the toppings should either cut through that richness or echo it with enough restraint that the whole thing stays balanced.
These combinations tend to work especially well:
- yellow mustard and finely diced onion
- deli mustard, sauerkraut, and a small swipe of mayo
- sweet relish and mustard for a classic ballpark profile
- chili and shredded cheddar, if you want something heavier
- pickled jalapeños and onions for heat and acidity
What does not work as well is piling on so much wet topping that the crisp surface turns soft before the first bite. A split-griddled hot dog has a short peak window. Once loaded, it should be eaten right away.
If you like ketchup, use it. The resistance some people have to ketchup on a hot dog is mostly cultural theater. That said, ketchup is sweet and watery compared with mustard. On a dog you have worked to crisp, it can flatten flavor if applied heavily. A thin line is better than a flood.
Common mistakes and how to avoid them
The most frequent problem is underheating the pan. People are understandably nervous about burning processed meats, so they cook too gently. The result is a warmed hot dog with faint color and no crust. Browning needs enough heat to happen before the interior overcooks.
Another common issue is cutting the hot dog all the way through. When that happens, each half shrinks and curls on its own, and you lose the shape that makes the bun fit nicely. If you do accidentally cut one too far, you can still cook it, just expect a messier result.
Crowding the pan also causes trouble. Hot dogs release moisture and fat. If too many go in at once, that moisture has nowhere to go. Instead of griddling, they steam in their own vapor. Leave enough space for the pan to stay hot. In a standard 10- to 12-inch skillet, four is comfortable, six is pushing it unless the franks are small.
There is a subtler error that shows up in home kitchens: people keep flipping. Constant movement feels active, but it slows crust formation. Give the cut side time to establish color before you touch it. Once it releases cleanly, it is usually ready.
Why some hot dogs curl dramatically
Curling is not a failure, at least not entirely. A split hot dog wants to contract as the proteins tighten in heat. Some arching is normal and even useful, because it opens the dog slightly. Extreme curling usually points to one of three things: the cut was too deep, the heat was too high too early, or the dog is particularly dense and casing-heavy.
If the dog bows up so much that the center loses contact with the pan, use a spatula to press gently for a few seconds. Do not flatten it hard. That squeezes juices out and can make the texture bouncy in a bad way. Think guiding, not smashing.
Natural-casing franks often twist more dramatically at first, then settle. Skinless dogs can behave the opposite way, staying flatter but tearing more if the cut is ragged. A sharp knife helps more than people think.
The case for a little butter
There is a school of thought that says a hot dog has enough fat and needs nothing else in the pan. That is often true, but a small amount of butter can make a good hot dog taste unmistakably better. It encourages faster browning on the cut side and leaves behind a fond that seasons the bun when you toast it in the same pan.
The trade-off is narrower timing. Butter solids darken quickly, and if your stove runs hot, they can tip from nutty to bitter before the dog is finished. The compromise I like at home is a teaspoon of neutral oil first, then a small knob of butter once the dogs have already started to brown. You get flavor without making the initial sear overly fragile.
This is especially useful if you are cooking lower-fat franks or if your skillet surface is not perfectly seasoned.
Making it for a crowd without losing the texture
Hot dogs are often crowd food, which makes this style a little tricky because the best results come from direct pan contact and fast service. You can still do it for a group if you adjust your expectations and stage things sensibly.
Work in batches and hold the cooked dogs briefly in a low oven, cut side up, on a rack rather than a tray. A rack matters because it lets steam escape. If you pile them into a pan, the crisp sides soften almost at once. They will never be quite as sharp as dogs eaten straight from the griddle, but they can stay very good for ten minutes or so.
Toast buns in batches as well, or at least warm them near serving time. Set up toppings before the first dog hits the pan. The delay between cooking and eating is where quality slips fastest.
If you own an electric griddle, this is one of the few times it really earns its storage space. The large flat surface gives you room to split-griddle a dozen hot dogs with consistency that a crowded skillet cannot match.
Variations worth trying once you have the basic method down
A split-griddled hot dog does not need much embellishment, but a few small changes can take it in different directions. A dusting of onion powder on the cut face before it hits the pan adds a diner-style savoriness. A brush of mustard on the inside of the split creates a tangy crust, though it can scorch if the heat is too high. A thin slice of cheese tucked into the split during the last minute gives you a molten center, which is a little messy and very hard to dislike.
Some people score the rounded side with shallow diagonal slashes. It can look attractive and add extra blistered edges, but it is easy to overdo. Too much scoring lets fat escape and weakens the structure. I would treat it as an occasional flourish, not the standard method.
There is also the question of smashing. On social media you will sometimes see hot dogs pressed aggressively on the griddle, almost like a burger. That can produce a brittle crust, but it often sacrifices juiciness and turns the frank dense. For most home cooks, a gentle split-griddled approach is the better balance.
A word about doneness and safety
Packaged hot dogs are typically fully cooked, so technically you are reheating rather than cooking from raw. That gives you freedom to focus on texture. Still, food safety and basic common sense matter. If the package has been open in the refrigerator for too long, or if the hot dogs smell off, skip them. Once they hit the pan, you want them heated through and hot in the center, not just browned outside.
Because they are already cooked, there is no prize for taking them far past that point. Overcooked hot dogs lose more than moisture. Their spice profile gets muddled, salt becomes more pronounced, and the casing can toughen. The ideal moment is when the outside is crisp and the inside is hot and still springy.
Why this method keeps earning a place in weeknight cooking
There are fancier things you can cook in a cast-iron skillet. Few are as fast, cheap, and satisfying. A split-griddled hot dog asks for attention but not much time. It solves the biggest problem of home hot dogs, which is flabbiness, with one knife cut and one hot pan.
It is also forgiving once you understand the visual cues. You do not need exact thermometers or perfect timing. You need to recognize what good browning looks like, what enough contact feels like, and when to stop. After two or three rounds, your hands learn it.
That is probably the best part. This is not just a recipe. It is a method that sharpens your instincts. You start noticing pan heat, moisture, bun texture, carryover warmth, and the way small choices change the final bite. Those are useful lessons well beyond hot dogs.
Make them once with care, and the ordinary hot dog starts to feel unfinished without that crisp split face. The next time you want a quick lunch, a late-night dinner, or something easy that still feels considered, set a skillet on the stove, split the franks, and let the pan do what it does best.
Under Construction Hot Dogs
1225 W U.S. Hwy 50, Pueblo, CO 81008
FAQ About hot dog
What are different types of hotdogs?
Under Construction Hot Dogs offers a classic all-beef hot dog, a quarter-pound Jumbo Dog, a Chili Dog, and a Chicago Dog, along with brats and a Spicy Link.
What does a chili dog have on it?
Our Chili Dog pairs a Vienna all-beef hot dog with chili, shredded cheddar cheese, and finely diced onions.
What is in a traditional Chicago dog?
Our Chicago Dog comes on a steamed poppy seed bun with yellow mustard, bright green relish, onions, tomato wedges, a pickle spear, sport peppers, and celery salt.